如何在 Ubuntu 20.04|18.04 和 Debian 10 上安装 EGroupware |

EGroupware 是一款基于 PHP、JS 和 HTML 的开源协作群件软件,并根据 GNU 通用公共许可证 (GPL) 第 2 版的条款进行分发。您可以通过其本机 Web 界面使用 EGroupware,从而允许独立于平台的访问,或者使用 CalDAV/CardDAV 或 ActiveSync 协议使用不同的受支持客户端。在本指南中,我们将引导您完成在 Ubuntu 20.04|18.04 和 Debian 10 Linux 计算机上安装 EGroupware CE。
EGroupware的特点
- 文件管理器 - 提供详细的权限管理、归档选项和文件读取访问权限,让外部合作伙伴变得轻松。
- 日历 – 在线安排会议、假期和团体约会。
- Web Admin – 许多维护整个平台所需的工具和首选项
- 电子邮件客户端 – 集成的电子邮件客户端与日历或信息日志等其他模块完美连接。
- 任务和项目 – 有效管理整个团队的信息和职责。
现在您已准备好安装,请按照下一节中概述的步骤在 Ubuntu 20.04 | 18.04 上安装 EGroupware CE:
第1步:更新Ubuntu系统
将系统软件包更新到最新的可用版本。
sudo apt update
sudo apt -y upgrade && sudo systemctl reboot
步骤2:添加EGroupware APT存储库
我们将安装基于 Docker 容器的 EGroupware CE。我们需要添加提供在 Ubuntu 上运行 EGroupware 所需的软件包的存储库。
安装 gnupg 包:
sudo apt update
sudo apt -y install gnupg
Ubuntu 20.04:
wget -nv https://download.opensuse.org/repositories/server:eGroupWare/xUbuntu_20.04/Release.key -O - | sudo apt-key add -
echo 'deb http://download.opensuse.org/repositories/server:/eGroupWare/xUbuntu_20.04/ /' | sudo tee /etc/apt/sources.list.d/server:eGroupWare.list
Ubuntu 18.04:
wget -nv https://download.opensuse.org/repositories/server:eGroupWare/xUbuntu_18.04/Release.key -O - | sudo apt-key add -
echo 'deb http://download.opensuse.org/repositories/server:/eGroupWare/xUbuntu_18.04/ /' | sudo tee /etc/apt/sources.list.d/server:eGroupWare.list
Debian 10:
wget -nv https://download.opensuse.org/repositories/server:eGroupWare/Debian_10/Release.key -O - | sudo apt-key add -
echo 'deb http://download.opensuse.org/repositories/server:/eGroupWare/Debian_10/ /' | sudo tee /etc/apt/sources.list.d/server:eGroupWare.list
步骤 3:在 Ubuntu 20.04|18.04 和 Debian 10 上安装 EGroupware
开始安装EGroupware包:
sudo apt update
sudo apt install egroupware-docker egroupware-collabora-key egroupware-rocketchat
您可以查看依赖项并接受安装:
Reading package lists... Done
Building dependency tree
Reading state information... Done
The following additional packages will be installed:
  apache2 apache2-bin apache2-data apache2-utils bridge-utils containerd dns-root-data dnsmasq-base docker-compose docker.io jq libapr1 libaprutil1
  libaprutil1-dbd-sqlite3 libaprutil1-ldap libidn11 libjansson4 libjq1 liblua5.2-0 libonig5 net-tools pigz python3-cached-property python3-docker
  python3-dockerpty python3-docopt python3-texttable python3-websocket runc ssl-cert ubuntu-fan
Suggested packages:
  apache2-doc apache2-suexec-pristine | apache2-suexec-custom www-browser ifupdown aufs-tools cgroupfs-mount | cgroup-lite debootstrap docker-doc rinse zfs-fuse
  | zfsutils mariadb-server | mysql-server egroupware-epl-jdots egroupware-epl-phpbrain egroupware-epl-sitemgr egroupware-epl-wiki openssl-blacklist
The following NEW packages will be installed:
  apache2 apache2-bin apache2-data apache2-utils bridge-utils containerd dns-root-data dnsmasq-base docker-compose docker.io egroupware-collabora-key
  egroupware-docker egroupware-rocketchat jq libapr1 libaprutil1 libaprutil1-dbd-sqlite3 libaprutil1-ldap libidn11 libjansson4 libjq1 liblua5.2-0 libonig5
  net-tools pigz python3-cached-property python3-docker python3-dockerpty python3-docopt python3-texttable python3-websocket runc ssl-cert ubuntu-fan
0 upgraded, 34 newly installed, 0 to remove and 131 not upgraded.
Need to get 72.1 MB of archives.
After this operation, 352 MB of additional disk space will be used.
Do you want to continue? [Y/n] y
确保 docker 和 mariadb 服务设置为在启动时启动。
sudo systemctl enable --now mariadb docker确认 Docker 容器的状态。
$ sudo docker ps
CONTAINER ID   IMAGE                                     COMMAND                  CREATED              STATUS              PORTS                      NAMES
91120ca8959f   quay.io/egroupware/collabora-key:stable   "/bin/sh -c 'bash st…"   52 seconds ago       Up 51 seconds       127.0.0.1:9980->9980/tcp   collabora-key
92a901e5fa4f   nginx:stable-alpine                       "/docker-entrypoint.…"   About a minute ago   Up About a minute   127.0.0.1:8080->80/tcp     egroupware-nginx
b385fdc3f11a   phpswoole/swoole:4.6-php7.4-alpine        "docker-php-entrypoi…"   About a minute ago   Up About a minute                              egroupware-push
011d62ae8bdd   containrrr/watchtower:latest              "/watchtower --sched…"   About a minute ago   Up About a minute   8080/tcp                   egroupware-watchtower
c8895817c655   egroupware/egroupware:20.1                "/entrypoint.sh php-…"   About a minute ago   Up About a minute   9000/tcp                   egroupware
962aef34f4e8   mariadb:10.4                              "docker-entrypoint.s…"   About a minute ago   Up About a minute   3306/tcp                   egroupware-db
84c797032ad3   quay.io/egroupware/rocket.chat:stable     "docker-entrypoint.s…"   2 minutes ago        Up 2 minutes        127.0.0.1:3000->3000/tcp   rocketchat
7f17129ecd28   mongo:4.0                                 "docker-entrypoint.s…"   2 minutes ago        Up 2 minutes        27017/tcp                  rocketchat-mongo
步骤 4:访问 EGroupware CE 仪表板
在 Ubuntu 20.04|18.04 LTS 上安装 EGroupware 后获取登录凭据。
$ cat /var/lib/egroupware/egroupware-docker-install.log
Fix APC(u) configuration, set apc.shm_size=128M in /etc/php/7.3/cli/conf.d/20-apcu.ini
Timezones updated to version 2.2019c (546 records updated).
Timezones aliases updated to version 2020-04-09 09:54:19 (87 records updated).
You might need to clear the cache for changes to be visiable: Admin >> Clear cache!

EGroupware successful installed
===============================

Please note the following user names and passwords:

Setup username:      admin
      password:      pTs3c!xSoZwQs@S5

EGroupware username: sysop
           password: uka(x3j2OO|?=2gZ

You can log into EGroupware by pointing your browser to http://localhost/egroupware/
Please replace localhost with the appropriate hostname, if you connect remote.

*** Database has no root password set, please fix that immediatly: mysqladmin -u root password NEWPASSWORD
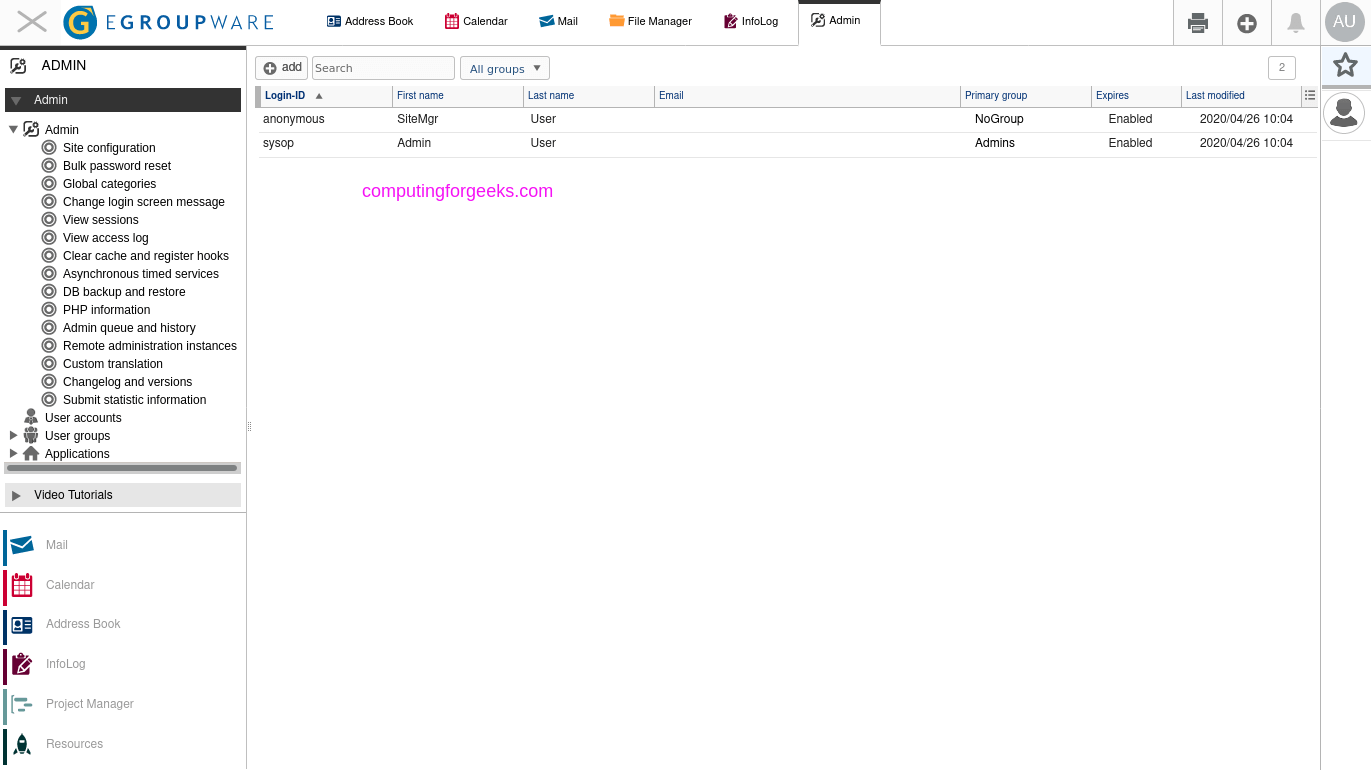
转至 http://example.org/egroupware 页面,使用凭据登录仪表板:

使用 Docker compose 运行输出中显示的凭据进行登录。
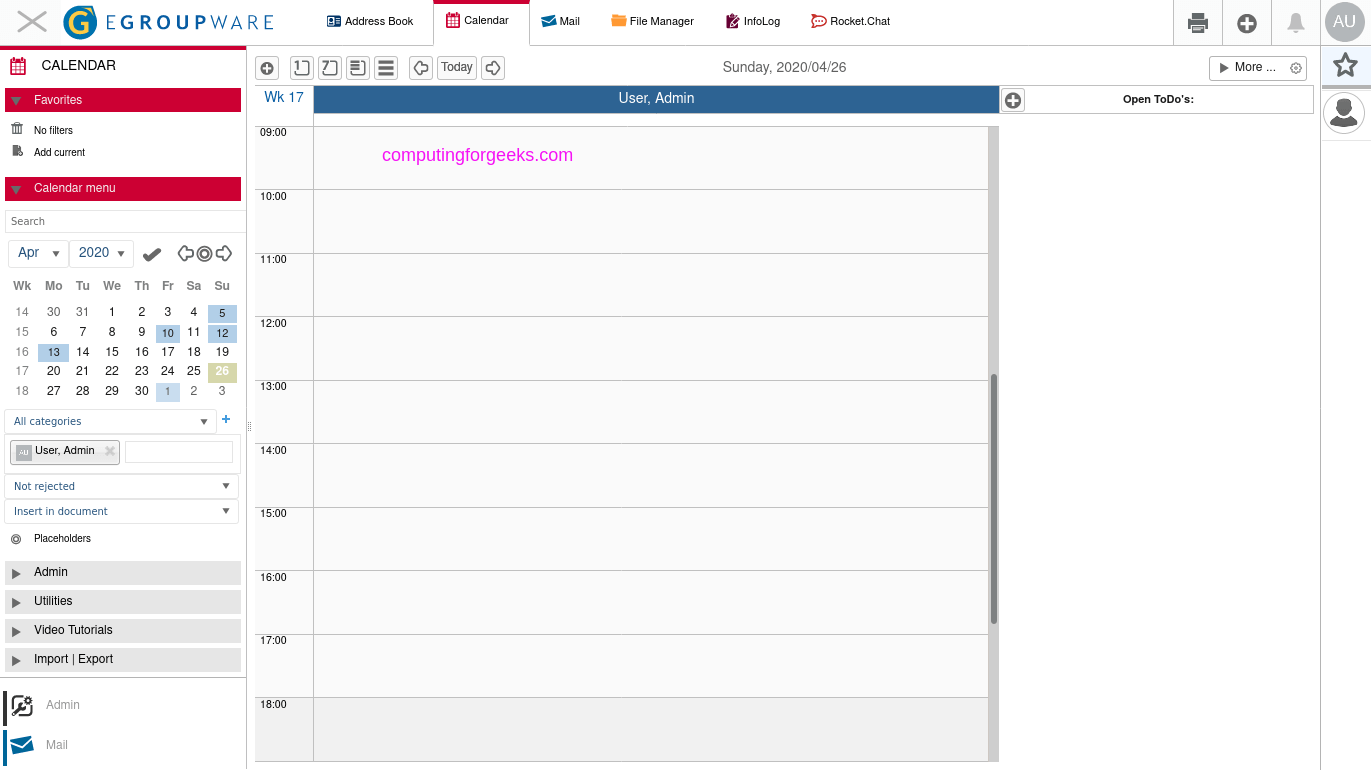
您可以开始管理 EGroupware 并配置第三方集成。
对于 CentOS,请参阅:
在CentOS 7/CentOS 8上安装EGroupware CE